Mold Remediation in Gresham, OR — the IICRC S520 Process That Keeps Mold Gone
When mold is more than a small patch, the answer is the full remediation process — assessment, containment, negative air, HEPA filtration, material removal, structural drying, and verified clearance, with the moisture source corrected so it doesn't come back. Done to the IICRC S520 standard across Gresham ZIPs 97030 and 97080.
The IICRC S520 Remediation Process, Step by Step
Mold remediation is not a single action but a controlled sequence, and the IICRC S520 standard is the playbook professionals follow to make sure nothing is skipped. S520 is the recognized standard of care for mold remediation — the document that defines what "doing it right" actually means. The steps below are the spine of every proper job, and each one exists for a reason. Skip the containment and you spread the problem; skip the drying and you reset it; skip the source correction and you guarantee a repeat. Here is how the full process runs from the first assessment to the final verification.
- Assess the extent and the moisture source. Before any work begins, a technician maps how far the mold has spread and finds the water feeding it — a leak, condensation, or ground moisture. This defines the scope and makes sure the cause is part of the fix, not an afterthought.
- Build containment. The work area is sealed off with plastic sheeting and barriers so spores disturbed during removal cannot drift into clean parts of the home. Containment is the single biggest difference between a professional job and a DIY one.
- Establish negative air pressure. Air-moving equipment keeps the containment under slight negative pressure, so any air that escapes flows inward and is exhausted through HEPA filtration rather than carrying spores into the rest of the house.
- Run HEPA air filtration. HEPA air scrubbers run continuously inside the containment, pulling fine airborne spores out of the work-area air while crews disturb and remove the mold.
- Remove contaminated materials. Saturated, mold-infested porous materials — drywall, insulation, carpet padding — are physically removed and bagged out, because mold cannot be reliably cleaned from inside them. Salvageable non-porous surfaces are cleaned in place.
- Apply antimicrobial and clean. Once the growth and unsalvageable material are out, remaining surfaces are HEPA-vacuumed, wiped, and treated with an antimicrobial to address residual spores and discourage regrowth.
- Dry the structure. Materials are dried back to a normal moisture content before any rebuild, using the structural-drying principles of the water-damage standard (IICRC S500). Closing up a damp wall just starts the cycle over.
- Verify clearance. Finally, the work is checked — visually, by moisture, and where warranted by air sampling — to confirm the area is clean, dry, and back to a normal condition before the job is closed out.
That final verification is its own discipline, and for an extra layer of confidence it can be done independently — you can read about independent post-remediation clearance and why a second set of eyes matters. The whole point of running all eight steps in order is that mold remediation removes the problem without seeding the next one. For the complete menu of what we handle, see our full mold service lineup.
Remediation vs. Removal — Why the Distinction Matters
It is easy to treat "remediation" and "removal" as synonyms, but they describe different scopes, and knowing the difference helps you understand what you are actually buying. Removal is the physical act of taking the mold out — one step. Remediation is the whole controlled process around that act: isolating the area, filtering the air, removing and treating materials, drying the structure, and fixing the cause. Removal lives inside remediation. For a small surface patch on a non-porous surface, the removal step on its own may be enough. For anything beyond that — mold behind walls, after a leak, or across a meaningful area — remediation is what makes the result last, because the containment and the source correction are what stop the problem from coming back.
| Aspect | Mold Removal | Mold Remediation |
|---|---|---|
| Scope | One step: extraction and cleaning | The full S520 process, start to finish |
| Containment + negative air | Not by itself | Required |
| Air filtration | HEPA vacuum during cleaning | Continuous HEPA air scrubbing |
| Structural drying | Not inherent | Built in — dried before rebuild |
| Right for | Small isolated surface patches | Larger, hidden, or water-linked mold |
The practical lesson is to match the scope to the problem rather than the label. We will not oversell a full remediation for a job that only needs a careful removal, and we will not pretend a wipe-down is enough when the mold is behind a wall fed by a leak. If you want to understand the narrower step in detail, our page on how mold removal fits in walks through the physical extraction work that sits at the center of the larger process.
Cleaned vs. Removed Materials, and the EPA 10-Square-Foot Line
A central decision in any remediation is which materials can be saved and which have to be removed, and the answer turns on whether a material is porous. Non-porous surfaces — tile, glass, metal, sealed and finished wood — can usually be cleaned and kept, because mold grows on top of them rather than into them. Porous materials are the opposite: saturated drywall, soft insulation, carpet and padding, and ceiling tiles absorb water and let mold root deep inside, where surface cleaning cannot reach. Those materials are generally removed and replaced rather than cleaned, because there is no dependable way to extract a colony from the interior of a piece of drywall. Trying to keep unsalvageable porous material is one of the most common reasons a remediation fails to hold.
The EPA's ten-square-foot guideline is the line that tells you when this full process is warranted in the first place. A patch smaller than about ten square feet — roughly three feet by three feet — may be a reasonable do-it-yourself cleanup for a healthy person taking precautions. Larger contaminated areas, anything tied to sewage or major water damage, anything in an HVAC system, or mold hidden behind walls call for the contained remediation process described above. And because the EPA and CDC are clear that there is no enforceable "safe" mold count, the target of remediation is never a lab number — it is removing the growth, taking out the unsalvageable materials, drying everything, and correcting the moisture so the conditions that grew the mold are gone. If you are not sure how big your problem is, the right starting point is that measures the scope before any work begins. For numbers and documentation, is a targeted tool, not the goal.
Why Source Correction Is Non-Negotiable in Gresham
Of all the steps in the S520 process, the one Gresham homeowners cannot afford to skip is source correction, and the climate is the reason. The Pacific Northwest runs a long, wet, cool season — close to eight months of rain — that keeps outdoor humidity high and pushes indoor relative humidity higher than people expect. In that environment, a remediation that removes the mold but leaves the water behind is barely a pause: the dampness that grew the colony the first time is still there, and mold returns on the same schedule. The EPA and CDC could not be clearer that fixing the moisture is part of the job, not optional, and nowhere is that more true than in a maritime climate this wet.
The usual local culprits are the same ones that drive mold here in general. Crawl spaces over bare soil stay damp when a vapor barrier fails, feeding mold into the joists and subfloor from below. Attics collect condensation when warm indoor air leaks up into cold roof framing or a bathroom fan vents into the attic instead of outside. Roof leaks, window condensation, and slow plumbing failures fill out the list. A proper remediation in Gresham treats correcting whichever of these is feeding the mold as a required step, drying the structure and addressing the water rather than just cleaning the surface and closing the wall. You can see how we cover the wider city on our mold remediation across Gresham, OR page, or start with the fundamentals of mold removal in Gresham.
Bigger Than a Patch? The S520 Process Is Built to Make It Stay Gone.
Containment, HEPA filtration, material removal, structural drying, and a corrected moisture source — the full standard, done right. Tell us about your Gresham home and we'll scope the job.
(971) 434-5079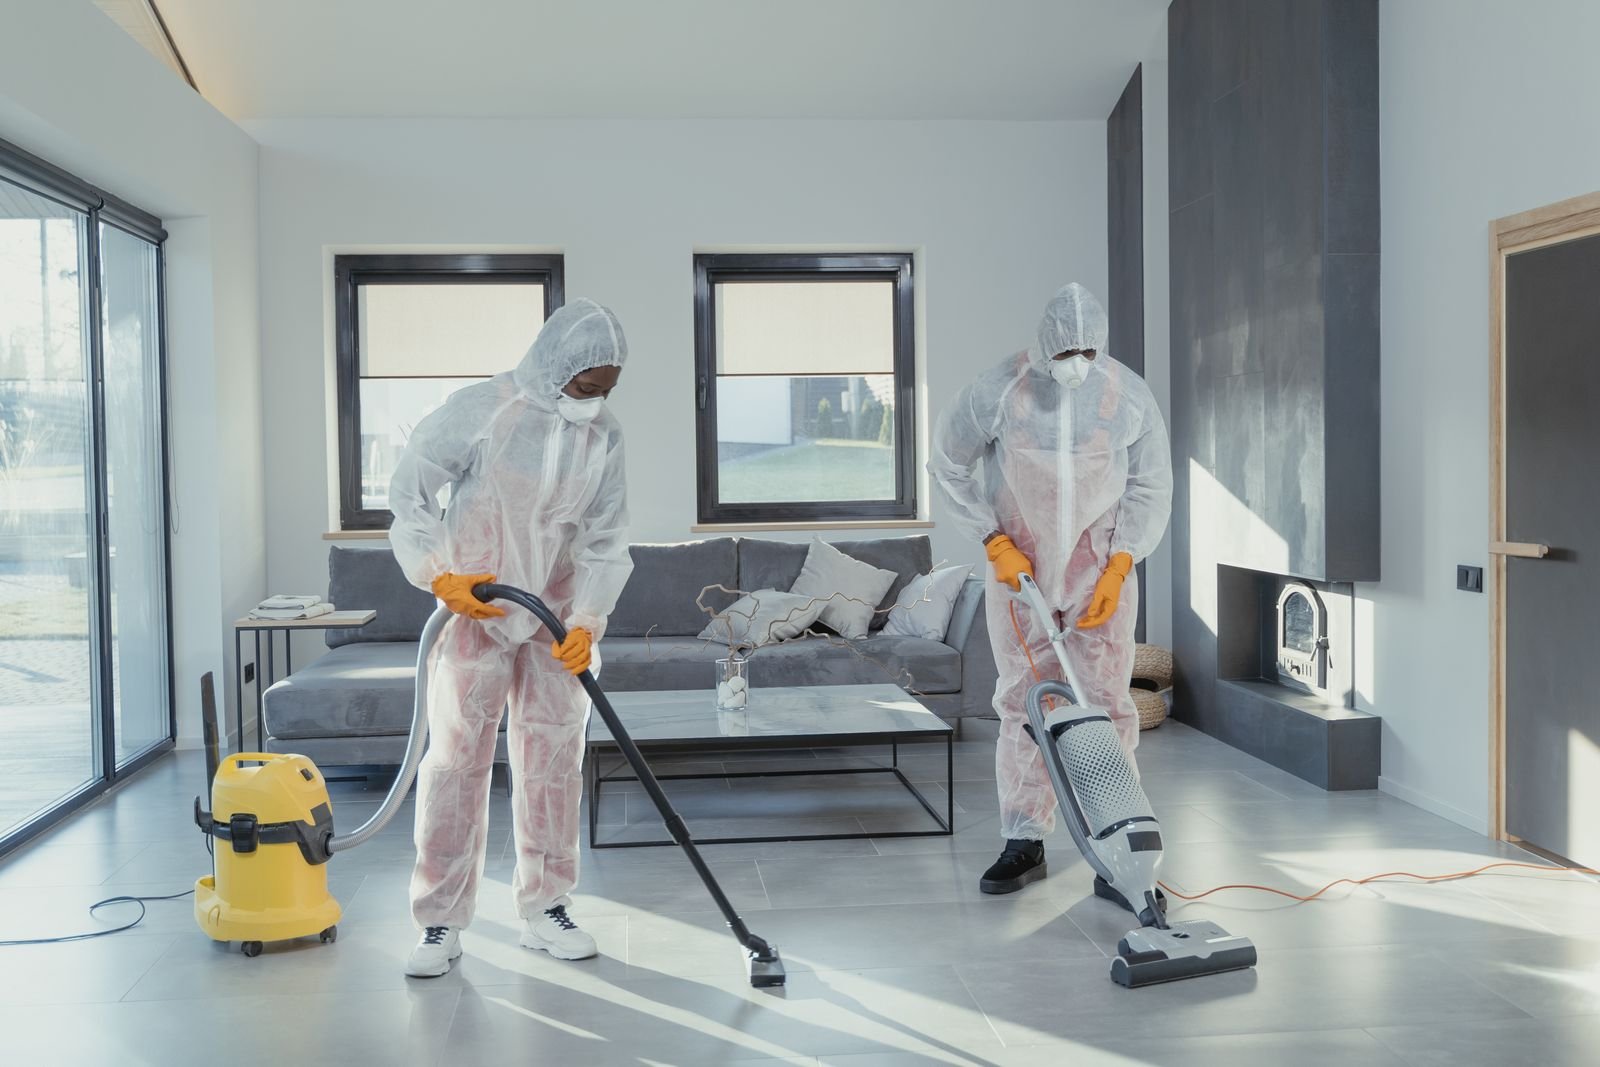
Remediation Is What Makes the Result Last
The difference between mold that comes back and mold that stays gone is the controlled process around the cleanup. Containment keeps the problem from spreading mid-job, HEPA filtration scrubs the air while crews work, structural drying removes the water, and verification confirms the result before the wall is closed. That sequence is the whole point of the S520 standard.
- Containment so spores don't migrate
- Negative air exhausted through HEPA
- Saturated porous materials removed
- Structure dried and clearance verified
Mold Remediation Questions, Answered
Straight answers to what Gresham homeowners ask about remediation.
Ready for Remediation That Actually Holds?
The full IICRC S520 process, the moisture source corrected, and clearance verified before we close it out. Tell us what you're dealing with and we'll scope it honestly.
(971) 434-5079Call a Mold Specialist